A Records#
DNS records tell the world where your domain points to. The most fundamental type of record is the A record.
An A record (i.e., Address record) maps a domain name to an IP address. It’s the most common type of DNS record.
When someone looks up www.ulutasalperen.com, their DNS resolver will ultimately find an A record with the IP address of that site’s server.
Try it yourself with the dig command line tool: dig www.ulutasalperen.dev. It’s useful for troubleshooting, and using it can teach you a lot about DNS.
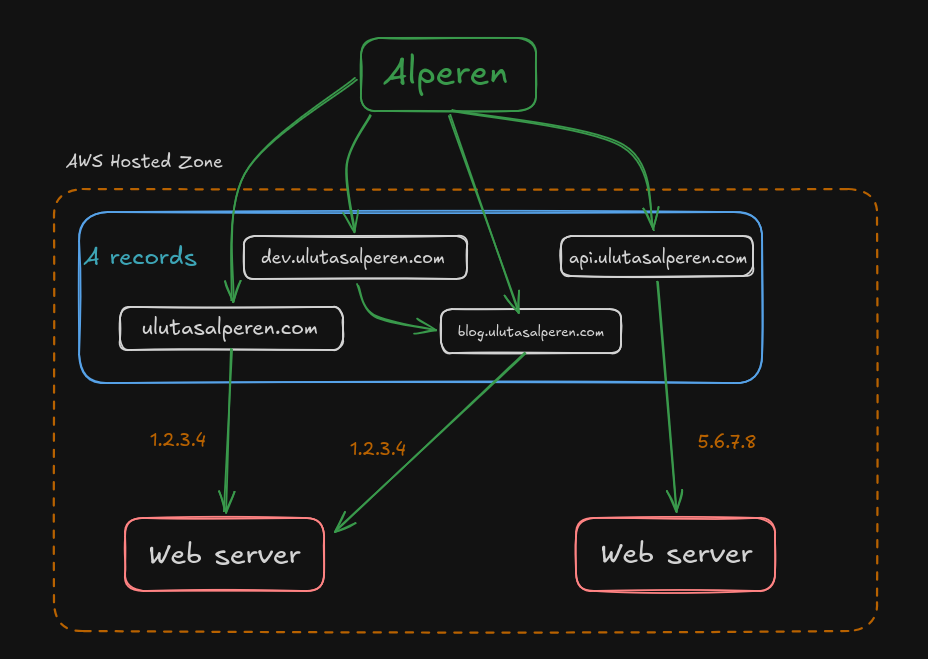
An A record consists of two parts:
- Name: the subdomain or domain (e.g.
www,blog,api) - Value: an IP address (e.g.
10.0.10.50or192.168.1.100)
You can also use @ to point to the root (or “apex”) domain. For example, ulutasalperen.com → 104.26.0.86.
Sometimes you’ll see multiple A records for the same domain name (including for ulutasalperen.com). This is valid and can happen for many reasons, including redundancy, load balancing (clients pick one of the IP addresses at random), and multi-region deployments.
It’s easy to mistakenly create an A record with the wrong IP address. If you’re pointing patientping.io to your server, make sure you’re using the server’s public IP address, not its private one. Private IPs (like 10.0.10.50) only work within your VPC. For the internet to reach your server, you need the public IP!
Assignment#
PatientPing’s internal site should answer at www.patientping.internal so the team can stop typing raw IPs. Let’s point that domain name at an IP address.
Create an A record: www.patientping.internal → a private IP address in your VPC. (It could be the private IP of an EC2 instance, or just a test IP within your VPC’s CIDR; up to you.)
Cost check: DNS queries are cheap ($0.40 per million for the first 1 billion).
Make sure your VPC has DNS hostnames enabled:
Navigate to “VPC” → “Your VPCs” in the AWS Console.
Select
patientping.Open “Actions” → “Edit VPC settings.”
Ensure “Enable DNS hostnames” is checked, then save.
This setting does take a couple of minutes to take effect, so if you get to the next lesson and your DNS resolution is failing, give it a few minutes before assuming you’ve done it wrong.
Navigate to “Route 53” → “Hosted zones” in the AWS Console.
Select your private hosted zone (
patientping.internal) and view its “details.”Click “Create record.”
Configure the record:
- Record type:
A(Routes traffic to an IP address) - Record name:
www(this createswww.patientping.internal) - Value: a private IP address in your VPC:
10.0.10.50 - TTL: 15 (seconds)
- Leave everything else default.
- Record type:
Click “Create records.”
Verify the A record appears in your hosted zone.
Run and submit the CLI tests to verify your A record was created successfully.
Tip#
Want to use the CLI instead? Here’s the command structure:
aws route53 change-resource-record-sets --hosted-zone-id ZONE-ID --change-batch '{"Changes":[{"Action":"CREATE","ResourceRecordSet":{"Name":"RECORD-NAME","Type":"A","TTL":300,"ResourceRecords":[{"Value":"IP-ADDRESS"}]}}]}'